How to read an Excel file into Q

Q has in-built support for importing data from Excel files. In fact, there are three methods that can be used to read in Excel forms, depending on how the file is stored. I’ll show you all three methods and explain when you might want to use each one.
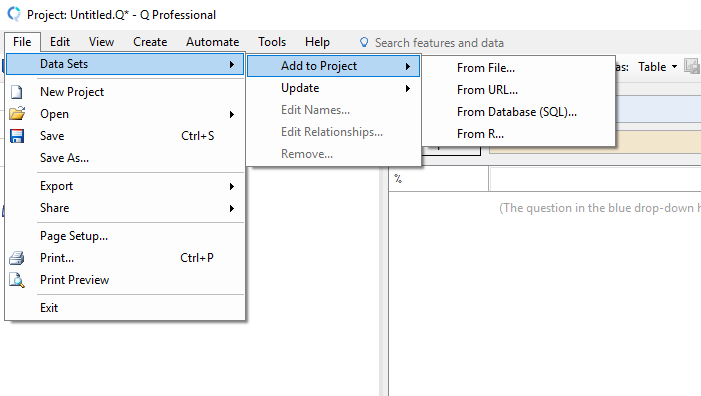
Method 1: Add Dataset from File
The most obvious way to import data from an Excel file into Q is to select from the menu File > Data Sets > Add to Project > From File and then select the file you want to use.
This is certainly the easiest way to import data if the file is a static file on your local computer. However, note that if you save the project as QPack, this will include a copy of the imported data, which will not contain changes made to the original data file.
Method 2: Add Dataset from URL
An alternative is to import data from files that are hosted online. To do this, select File > Data Sets > Add to Project > From URL. Q will reload the updated file every time it is reopened, which ensures that everyone is working on the same copy of the latest file.
This method can handle direct links (e.g., the Excel file is hosted on a webpage), but it may have difficulty downloading files from URLs to cloud storage. For example, if you have a link to a file in Dropbox, it will generally look like https://www.dropbox.com/s/random-string/filename.xlsx?dl=0.
To make this link direct, you need to replace dl=0 with dl=1. For other cloud storage services, such as One Drive or Google Drive, it may be easier to use Method 3.
Method 3: Add Dataset from R
This approach requires a small amount of R coding, but it is more flexible than the two methods above. From the menu select File > Data Sets > Add to Project > From R
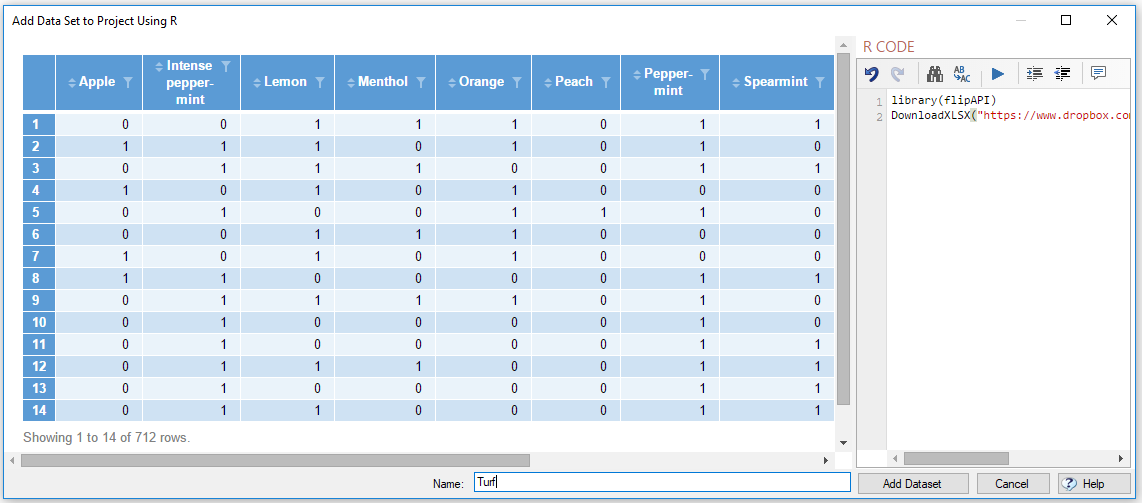
This will open a new dialog box. Type in the following code:
library(flipAPI)
DownloadXLSX(yoururl, want.col.names = TRUE, want.row.names = FALSE)
Click the blue arrow at the top of the R CODE box to run the code, which will produce the table shown on the left of the dialog box. Check that the output is in the form you expect. You may need to change the want.col.names or want.row.names parameters, depending on whether or not your data contains row and column headings. After you are satisfied with the table output, you can then assign a name to the dataset. Click Add Dataset to finish the import.
The first two methods will always import all the data in the first sheet of the Excel file. More flexibility is provided in the DownloadXLSX function. For example, to read only a subset of cells on the second sheet of the Excel file, you can use:
DownloadXLSX("https://wiki.q-researchsoftware.com/images/b/b9/Cola_Discriminant_Functions.xlsx", want.col.names = TRUE, want.row.names = FALSE, sheet=2, range="AB2:AC330")